

How To Fix 100% Disk Usage in Windows 10/11 (2026 Working Method)
Fix 100% Disk Usage in Windows 10/11 with easy steps. Disable services, optimize drive, and boost PC performance quickly and safely.
Build a premium animated website with Google AI Studio using natural-language prompts, design refinements, responsive checks, and exported code
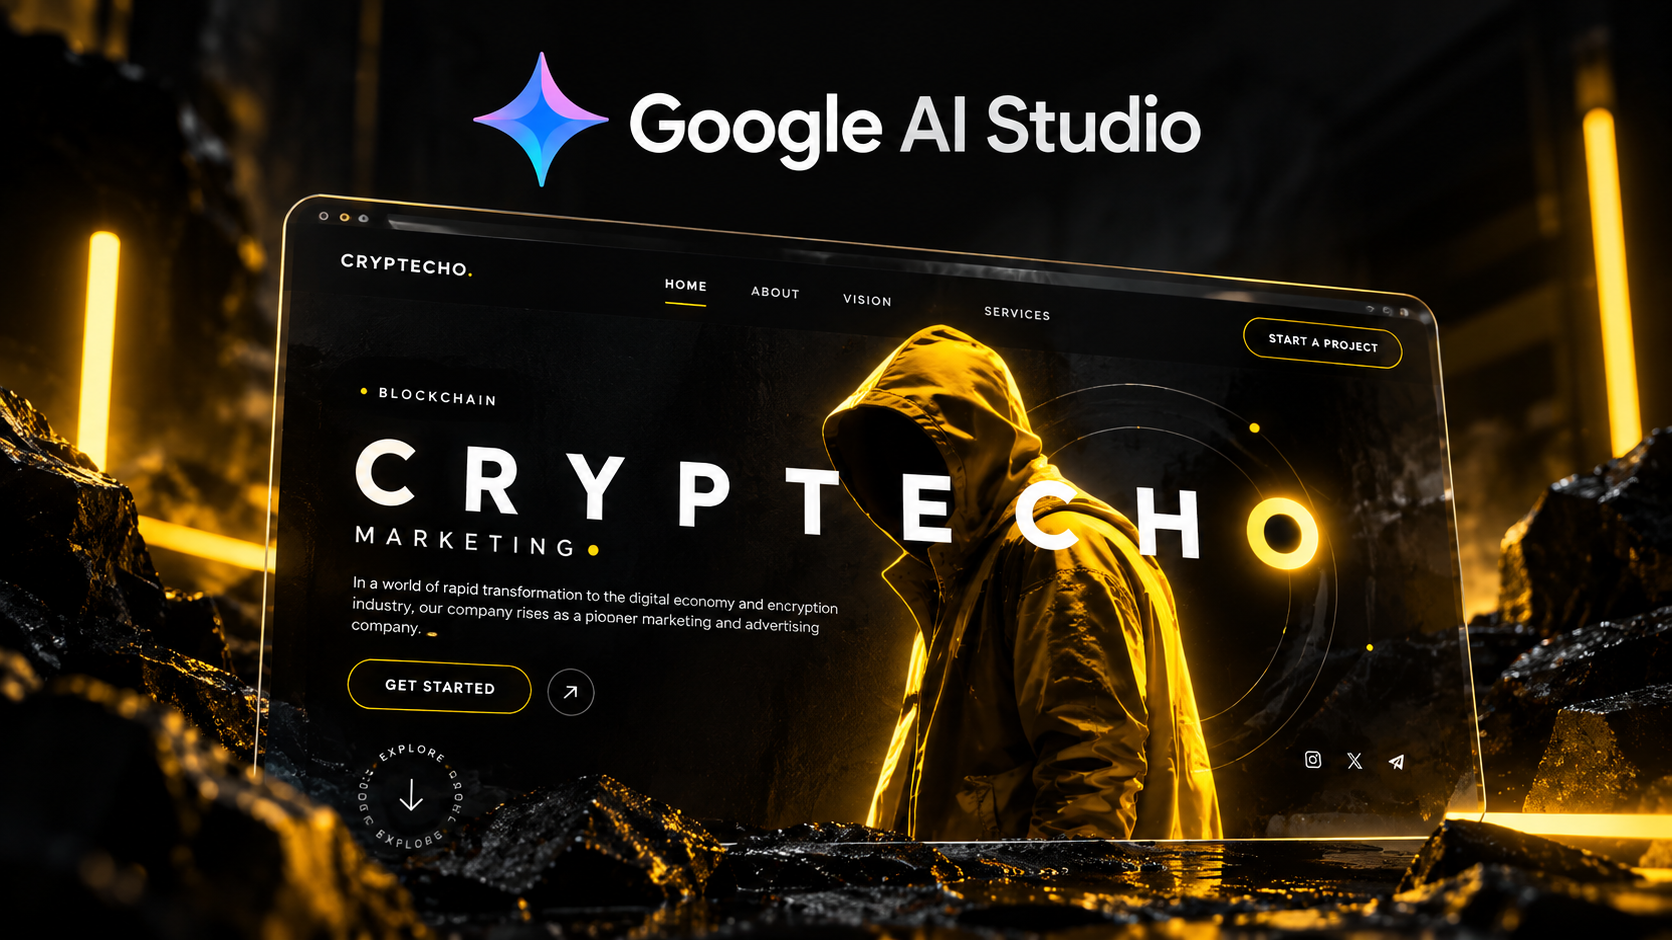
THE SHORT VERSION
Describe the website you want in Google AI Studio, generate the first version, then refine the layout, styling, animations, responsiveness, and performance with follow-up prompts
Creating a premium animated website does not always mean designing every interface element manually or writing the entire project from scratch.
In this tutorial, we’ll build a complete animated website using visual references, AI tools, free resources, and simple prompts.
The workflow covers everything from creating the main hero visual and animating it to generating the website, connecting multiple pages, adding smooth interactions, and finally publishing the finished project online.
The project uses a premium cinematic style with:
The finished website is more than a single hero section. It includes connected pages such as About, Services, Vision, and other sections depending on the type of project you want to create.
This workflow uses:
The hero section is the first thing visitors see when they open the website, so start by deciding what visual direction you want.
Pinterest can be useful for finding inspiration for:
Look for a visual that fits the type of website you want to build.
In this project, the selected reference already had a premium cinematic look, but it also contained text and other elements that were not needed.
Open ChatGPT and upload your selected reference image.
Ask it to create a cleaner variation based on the same general composition while removing unnecessary text and surrounding elements.
For this project, the main goal was to keep:
while removing the extra graphics and text.
The resulting image gives us a much cleaner base for the hero section. :contentReference[oaicite:1]{index=1}
The next step is to turn the static hero image into an animated visual.
Open Kling AI and sign in.
Go to the video generation section and upload the hero image you just created.
Kling also allows an ending frame if you need more control over the final movement, but for this project only the starting image was used.
To save credits, the video was generated using the 2.5 Turbo model at 720p.
For a website hero background, that resolution can be enough while using fewer credits than a more expensive generation option. :contentReference[oaicite:2]{index=2}
The first generation may not always match the movement you want.
In this project, the first result had too much uncontrolled movement and did not match the premium design.
Instead of accepting it, generate another version with clearer instructions.
The goal should be:
The second result worked much better because the character stayed centered and the motion felt more controlled. :contentReference[oaicite:3]{index=3}
Now that the animated character is ready, the website still needs:
Go back to Pinterest and look for a website layout where the main visual remains in the center and the surrounding content is arranged cleanly around it.
For this project, a layout with simple navigation, large typography, and enough empty space around the central visual worked well.
Upload the layout reference to ChatGPT.
Ask it to simplify the layout while:
The result can then be used as a much clearer reference when generating the actual website. :contentReference[oaicite:4]{index=4}
Open Google AI Studio.
From the left side, open the Build section.
Upload the hero layout reference you created and describe the website you want AI Studio to generate.
The goal is to recreate the overall structure and spacing of the reference while turning it into a working website.
Generate the first version.
AI Studio will create the website layout and generate the underlying website code in the background. :contentReference[oaicite:5]{index=5}
The first generated version used orange accents, but this project uses yellow as the main accent.
Instead of rebuilding the website, simply ask AI Studio to replace the orange accents with yellow while keeping the rest of the design unchanged.
This keeps the overall structure intact while bringing the visual style closer to the intended black-and-yellow theme.
Now we need to add the animated video created earlier.
Uploading the video directly into AI Studio may not always work as expected.
A practical approach is to host the video online first and then give AI Studio a public URL.
For this project, Cloudinary is used.
Create an account, upload the animated hero video, and copy the hosted video URL. :contentReference[oaicite:6]{index=6}
Return to Google AI Studio and provide the Cloudinary video URL.
Ask AI Studio to:
After this change, the previously static website becomes an animated website. :contentReference[oaicite:7]{index=7}
AI Studio may reduce the video’s visibility too much by adding opacity or dark overlays.
If the hero character becomes difficult to see, ask it to increase the video visibility and remove unnecessary opacity.
The character should remain clearly visible without making the text and navigation difficult to read.
In this project, the header initially had a heavy black background behind it.
That made the navigation feel separated from the rest of the hero area.
Ask AI Studio to remove the heavy header background and blend the navigation naturally into the hero section.
This gives the animation more room and makes the entire top section feel like one connected design. :contentReference[oaicite:8]{index=8}
At this point the hero section may look good, but a proper website should have buttons and navigation that actually lead somewhere.
Ask AI Studio to create the additional pages needed for the project.
For example:
The exact pages depend on the type of website you are creating.
Also ask AI Studio to connect the navigation items and CTA buttons correctly so that every important control has a working destination. :contentReference[oaicite:9]{index=9}
To make the website feel more polished, ask AI Studio to add subtle interactions throughout the project.
Useful effects include:
The goal is not to make everything move constantly.
The animations should support the design rather than distract from it. :contentReference[oaicite:10]{index=10}
After the changes are generated, test the complete preview.
In this project, the final version includes:
The animated character remains the main focus of the homepage, while the black background and yellow accents keep the design consistent. :contentReference[oaicite:11]{index=11}
Once you are happy with the project, download the complete website code as a ZIP file.
The generated project can then be hosted outside AI Studio.
In the video workflow, the project is downloaded and prepared for deployment using Netlify. :contentReference[oaicite:12]{index=12}
Open Netlify and create an account if you do not already have one.
Go to your Projects area and choose the option to add a new project.
Upload the website project using the available deployment option.
Netlify processes the files and provides a live website URL after deployment. :contentReference[oaicite:13]{index=13}
Open the deployed website and check the live version.
Make sure:
If the hosting platform asks you to make the website public, follow the available publishing option and choose the site name you want.
The finished project now includes:
The full project was created mainly using visual references, AI prompts, free-tier tools, and a few simple hosting steps instead of manually designing and coding every element from scratch. :contentReference[oaicite:14]{index=14}
Whether you’re creating the character animation or generating the website, refine anything that doesn’t match your intended design.
Instead of saying:
Make it better.
Explain exactly what needs to change.
For example:
This workflow works because each part is handled separately:
Trying to solve everything in one prompt can make it harder to control the final result.
No. In this workflow, Google AI Studio generates the website while prompts and visual references are used to guide the design.
Kling AI is used to turn the static hero character into an animated visual that can be used as the website background.
Cloudinary provides a public hosted URL for the animation, which can then be given to AI Studio for use inside the hero section.
Netlify is used in this tutorial to deploy the downloaded website project and make it publicly accessible online.
No. The tutorial intentionally refines both the animation and the website multiple times until the final result matches the intended design.
The biggest advantage of this workflow is not that AI creates everything perfectly in one click.
The real advantage is speed.
You can start with visual inspiration, create an original hero asset, animate it, generate the website, refine individual problems, add connected pages, and publish the finished project without manually building every part from the beginning.
The final result can look far more polished when you combine AI generation with clear visual direction and a few focused refinement prompts.
For more AI tools, useful websites, PC fixes, Windows tutorials, and practical tech guides, explore the rest of FixIt Zone.
Sources and references used for the procedures in this guide. Screens and wording may change.
Build apps in Google AI StudioCloudinary – Media Library UploadNetlify – Create DeploysEach resource is clearly labelled and opens on its destination page. Nothing downloads automatically.
Google AI StudioOfficial websiteChatGPTOfficial websiteKling AIOfficial websiteCloudinaryOfficial websiteNetlifyOfficial websiteA step looks different? Report a correction. Guidance is general and does not replace your device manufacturer’s advice.
KEEP YOUR MOMENTUM
Fix 100% Disk Usage in Windows 10/11 with easy steps. Disable services, optimize drive, and boost PC performance quickly and safely.
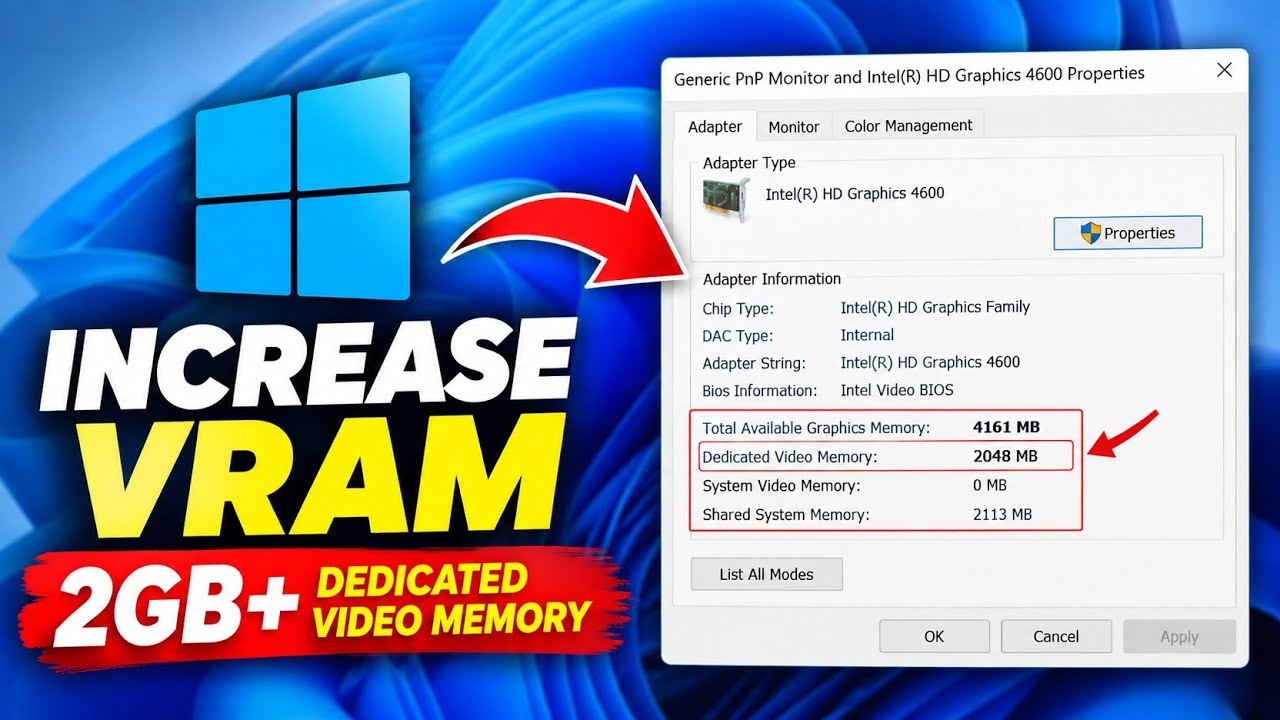
Learn how to increase reported VRAM on Intel HD Graphics without software using Registry Editor, plus what this means for FPS
Make your Windows desktop clean and professional with these simple customization settings. Follow the complete step-by-step guide.